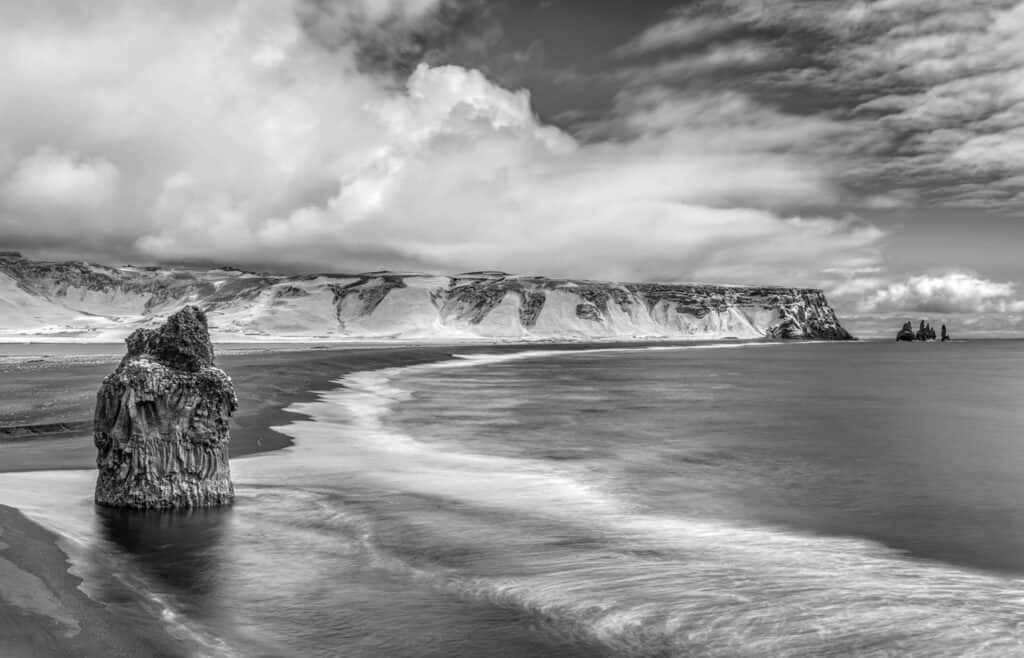
Middle of the day. Even light.
There is a lot of green in Iceland in the summer, which renders as pure white on the distant hills, which in turn separates the dramatic clouds and the grand C-curved beach.
A muse is defined as a source of inspiration. Infrared has been a muse since I was a child, long before I started on my photography journey.
At the age of 10, I saw a magazine in my 4th grade school cloak room which had screaming red palm trees on the cover. It imprinted and made an indelible impression to this day. That’s the power of photography. I didn’t know what it was, but I knew I had to know more about it (I was too young to know where to find the cover info in the magazine). I later learned that it is referred to as Achromatic. However, the odds of getting my working class parents to buy a camera for a child whose whim could change at any time was pretty slim.
A couple of years later, I borrowed a camera for a school photo contest and came in second place. I was excited and made a second pitch for a camera from the parents to no avail. That was it for photography for a while.
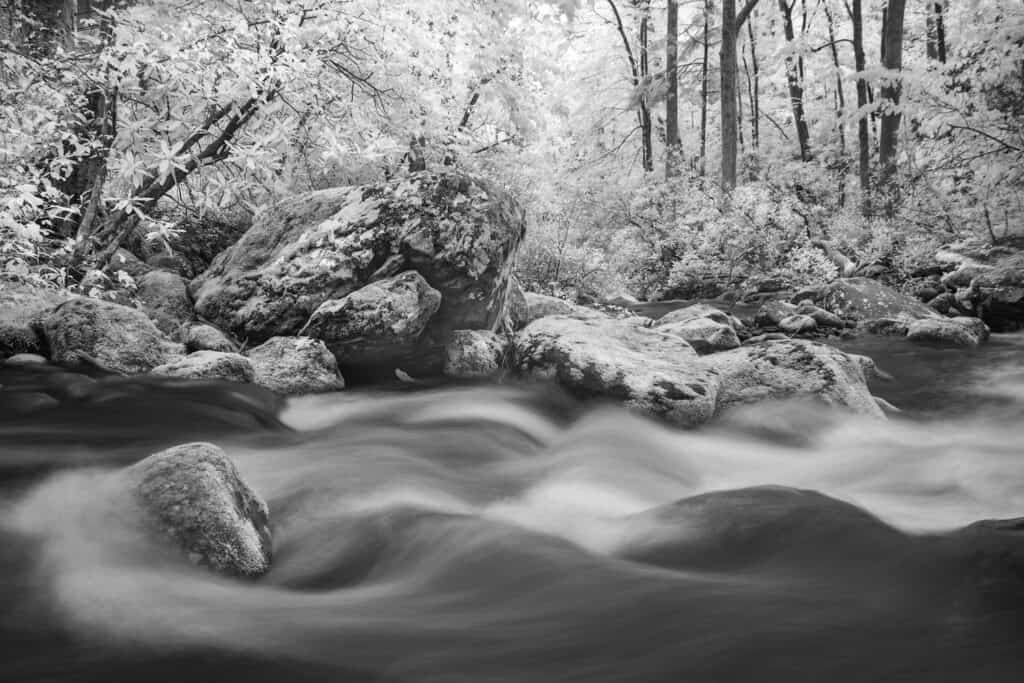
Made in a persistent light rain
Springtime in the Smokies. The lime greens look
almost translucent white. The stream was full after a rain and the 30 sec. exposure further softened the mood..
Life got in the way and I didn’t get back into photography for many years, after military service and full-time careers as a professional jazz drummer and close-up magician. As soon as I possibly could, though, I got a Nikon F4 for color slides and soon added a second that was dedicated to infrared film (Kodak HIE).
I quickly discovered that I had an affinity for infrared – a natural attraction, a fascination.
When digital, still in its infancy, found its way to infrared conversions, I bought 2 Nikon D200‘s: one for color and one dedicated to infrared.
Today, a large portion of my work is in B&W infrared. It has an organic feel to me, lying in the nether-land between color and black & white, between reality and surreality.
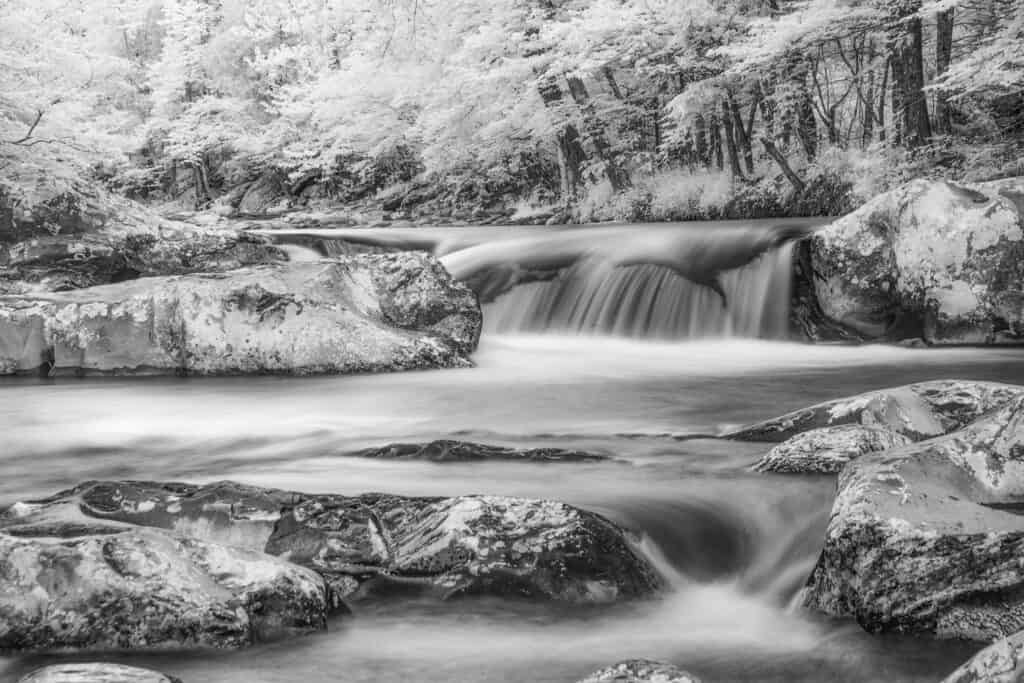
Overcast
Springtime in the Smokies. The one minute exposure creates a smooth separation between the trees, the stream, and the moon rocks.
Developing a New Way of Seeing
Not unlike seeing in color and seeing in black and white, one has to learn to see in infrared. Until one develops the ability to visualizing in infrared, it’s amazing how many infrared scenes are hidden in plain view. I often return to color images made previously to reinterpret in infrared. Developing “infrared eyes” is not difficult. It’s a function of practicing photographing infrared often in different light, weather conditions, and throughout the year, seeing, learning, and mentally cataloging (or writing down) the effects. Then, practice processing because just like in color photography, images are an equal measure of capture and processing. Think of it like practicing a musical instrument. The more you practice, the better you get.
Properties Unique to Infrared
In my formative infrared years, I studied the work of infrared photographers and talked with others. I noticed that there was a glow to their work. I asked about the glow and was told that was a property of infrared (no filter or software assist).
Property #1: Highlights glow naturally in infrared
Property #2: Infrared “sees” more detail in the highlights.
You should see those two properties amply illustrated in the image examples.
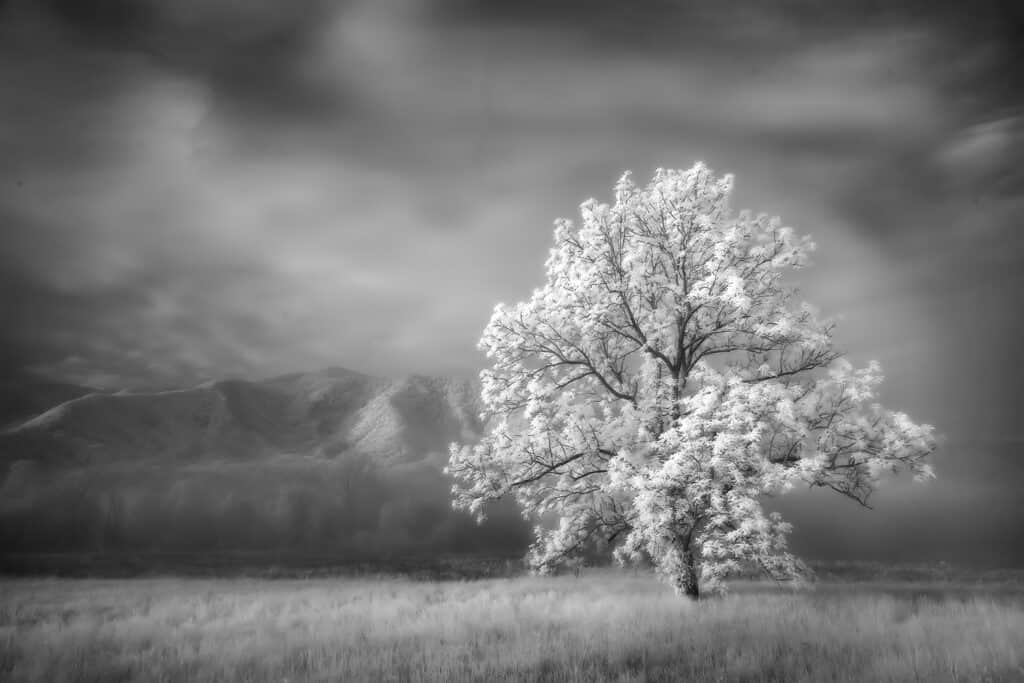
First light
The early morning fog adds drama to this “first light” image. As the wind picks up, the fog begins to move, which creates separation between the tree and the background mountains. But, the most important thing is notice the glow on the tree by the low sun angle through the fog. Wet conditions are good for infrared.
The Otherworldly Look
When many people commonly refer to infrared as “other worldly,” they are probably referring to the glow in the whites and other highlights. However, because of various qualities of light, some images have dull whites. I like my whites as white as possible, as long as it fits the scene
Increasing the whites and brushing in more exposure where needed can increase brightness. For increasing glow, I like to use the “Mystical” slider in Luminar Neo.
Best Times and Conditions
I thought, like many people, that the best time for infrared was midday under a blue sky with puffy white clouds, which can be great. I’ve since discovered that the aforementioned condition is only one of several conditions under which infrared shines.
Other conditions that can be a bit more expressive are dawn, dusk, bright overcast, in a light rain (my favorite), strong side light, and under a full moon.
The optimal sun placement is behind you, front lighting the subject; and low side lighting (early and late light).
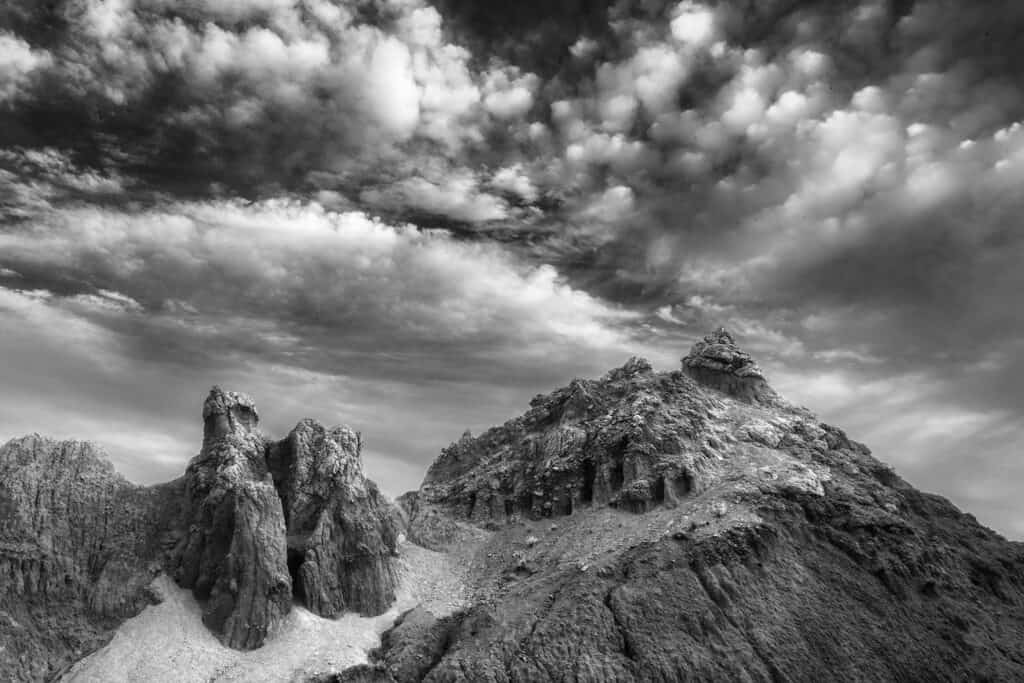
Late afternoon light
A good example of depth created by the contrast of the soft detail in the infrared clouds juxtaposed with the hard detail of the hills.
However, don’t limit yourself to only photographing optimal conditions. Try shooting in the direction of the sun (NOT directly into the sun). Hiding the sun behind a tree or a boulder allows you to photograph very strong backlight with no flare. Flare is an ever present issue with infrared. Lens hoods are recommended, or your hand, or a hat. OR, let a little lens flare in! Flare bubbles, streaks, shapes, etc. can add to the image.
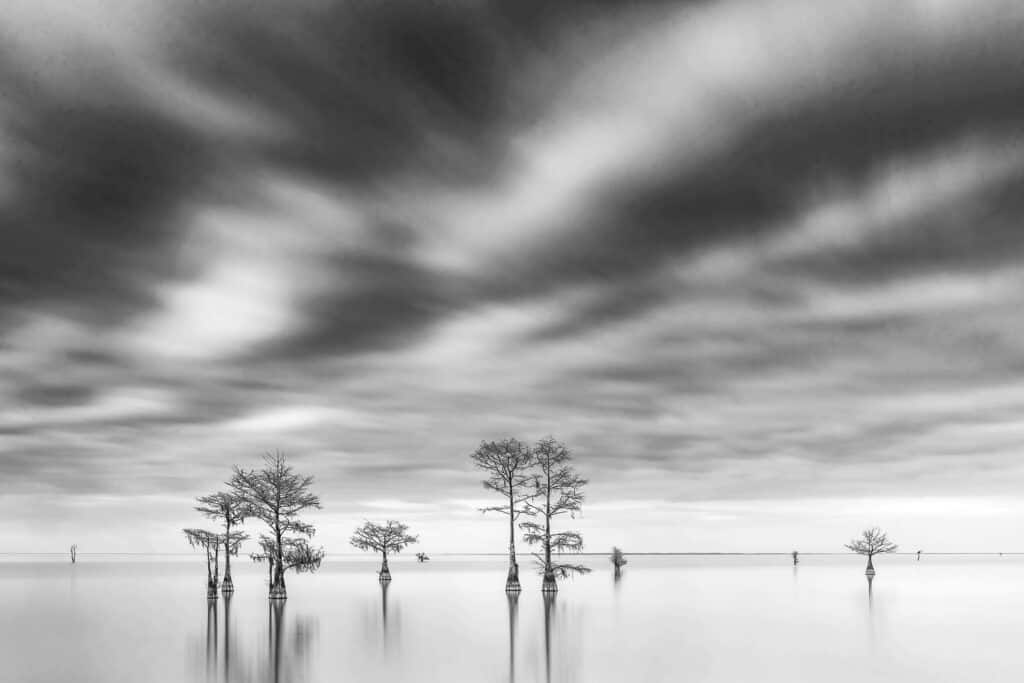
Late afternoon
Late afternoon image. The 2 minute exposure creates separation between the sky, clouds, trees, and water. Infrared renders the lake almost white, pushing the trees out towards the viewer. In processing, I brushed in more darkness in the clear parts of the sky.
The Many Moods of Infrared
Examine the images to get a sense of the breadth of infrared expression.
Processing is a large part of any image creation and mood. Dehaze, a very strong filter, can cause discoloration and add noise in color images. In infrared, dehaze can be quite effective and can help darken skies, but can also dramatically increase noise.
There are other contrast adjustments (blacks, whites, contrast, texture, and clarity) with which to experiment to achieve your chosen look and feel. However, be aware that the more contrast controls you stack up, the more likely you are to get halos.
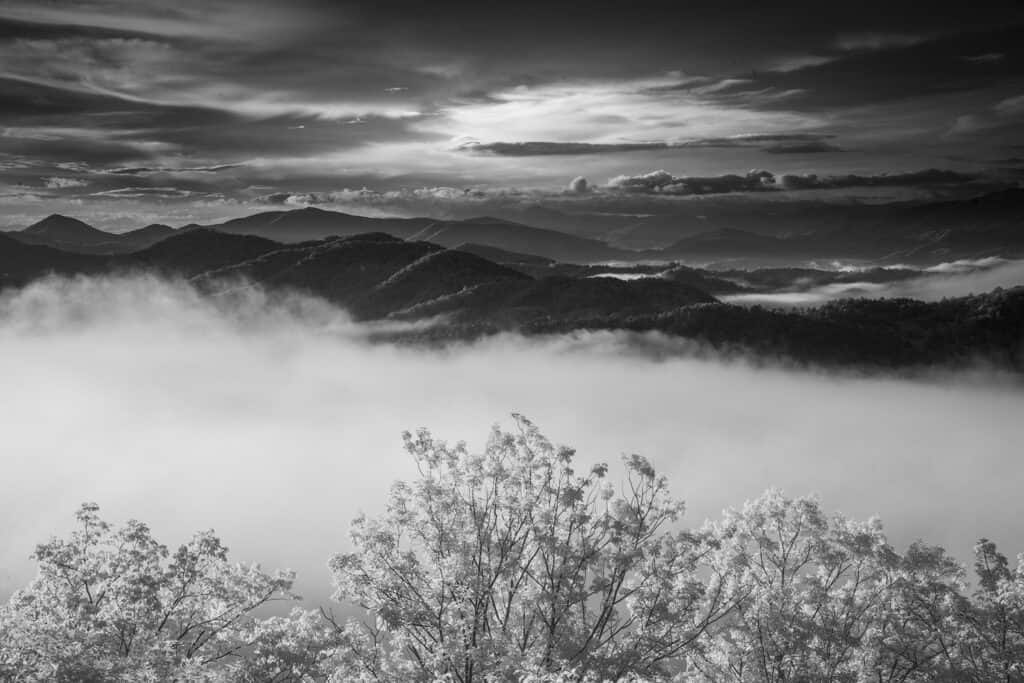
First light
The sun skim-lights the mountains at sunrise, creating excellent and dramatic contrast. In processing, I used a digital grad to brighten the foreground trees and fog. And a digital grad to darken the upper part of the frame.
Profiles
I do not use custom profiles. I use the canned Monochrome profile in LR.
Images are processed as standard black and white images.
The most important thing is to get a good histogram, making very sure not to block up the shadows. When bringing up underexposed areas in infrared, the noise can be difficult to fix.
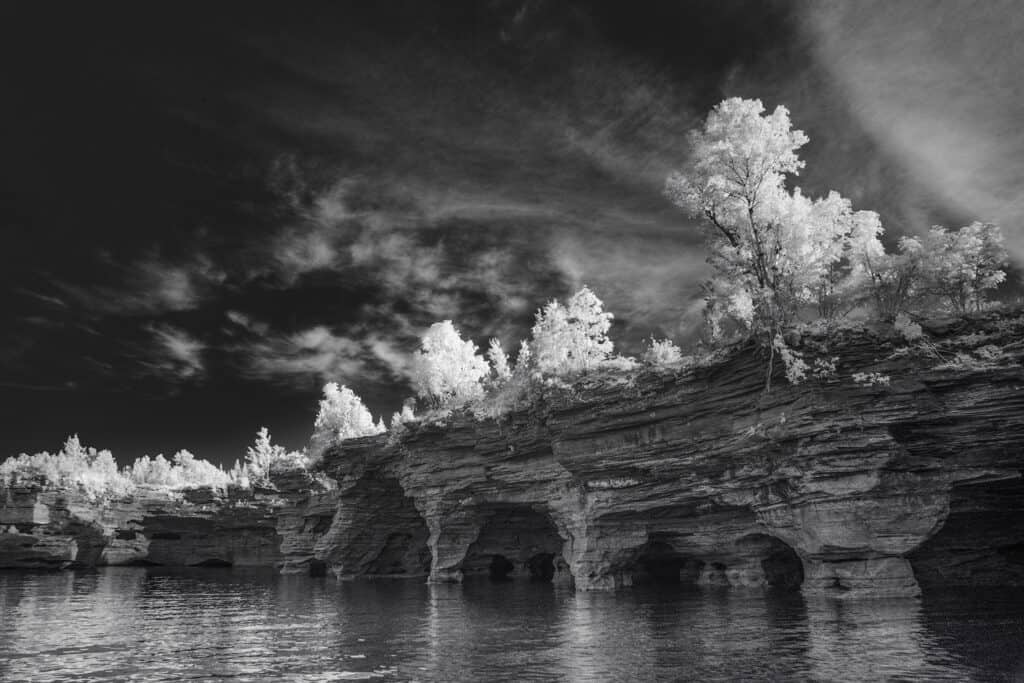
Sea caves at sunset
Quite simply, all we had to do was to have the captain angle the boat to the correct position (caves on the right, sunset on the left). As we photograph further and further north, there is a decrease in UV, which results in much cleaner and darker skies in infrared.
How to Start in BW Infrared
The easiest and quickest way to enter the world in B&W infrared is to get a screw-in filter and use it on your color camera (you will need to have LiveView on a DSLR).
How’s that Possible?
Briefly, the filter picks up infrared light leaks from the hot mirror during the exposure, creating the true infrared image. The exposures can be a bit long in marginal light. Raising the ISO can shorten the exposure at the expense of introducing noise, which can be reduced using On1 NoNoise or Topaz DeNoise.
I prefer to get the best image quality when photographing and so I keep my ISO as low as possible.
Another option is to get a camera converted to become a dedicated infrared camera.
The dedicated infrared camera will operate like your color camera in every way.
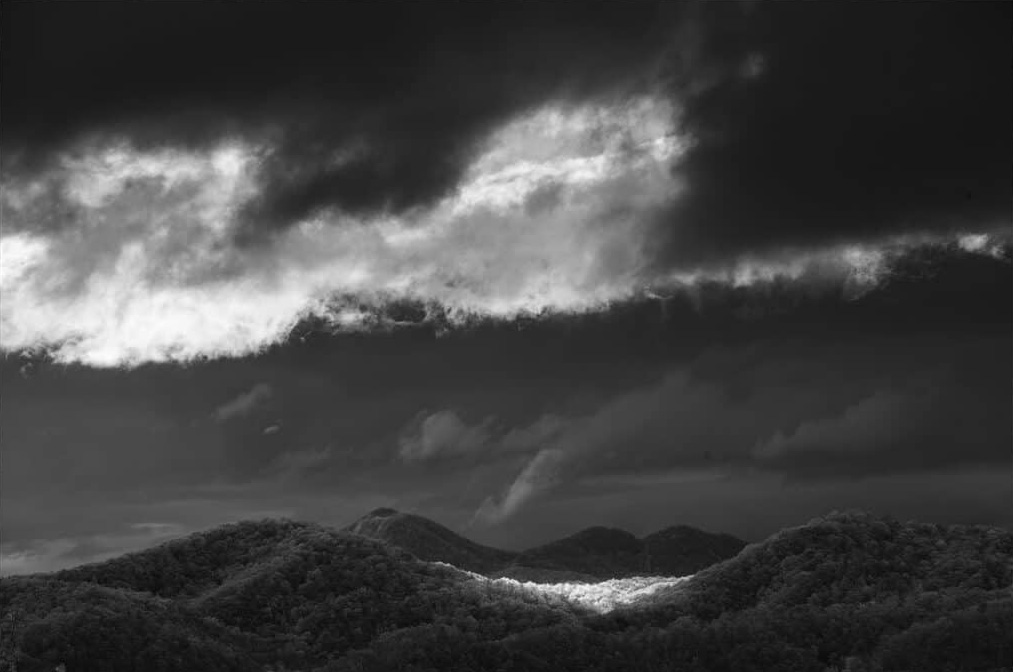
First light
One of my favorite infrared images is a good example of how infrared affects clouds and highlight detail. We were lucky to have a strong beam of light skim the valley and the bottom of the storm clouds, helping to create this low key infrared image with classic infrared glow and increased detail in the clouds.
Where Can I Get a Camera Converted?
There are too many places to list, but here are the companies I have used and recommend, and where there is a wealth of information:
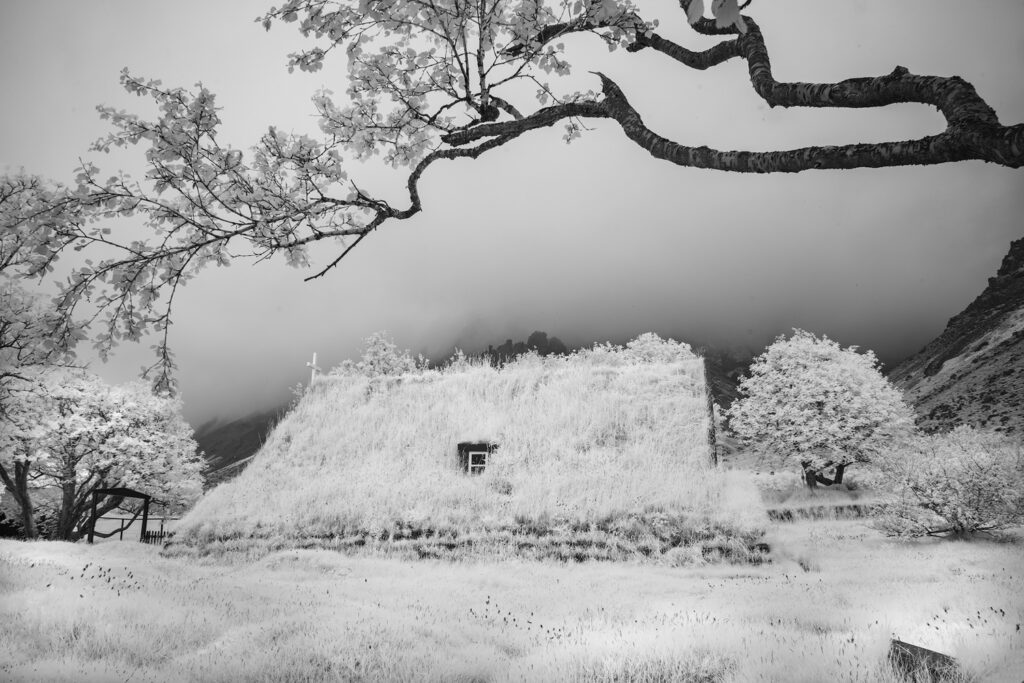
Raining
These structures are covered with turf for the great insulation qualities, but for us, it makes for great infrared. This image was made in a persistent rain, which renders almost pure whites and dark blacks (contrast).
Hot Spots!
This is a well known issue in infrared. A hot spot is a noticeable bright, circular spot in the center of the frame, the intensity dependent on the aperture. Arguably, it can be fixed. But, I prefer a lens with no center spot. Changing to a compatible lens is the ultimate answer to this issue.
Here’s a lens hot spot database:
https://kolarivision.com/articles/lens-hotspot-list/
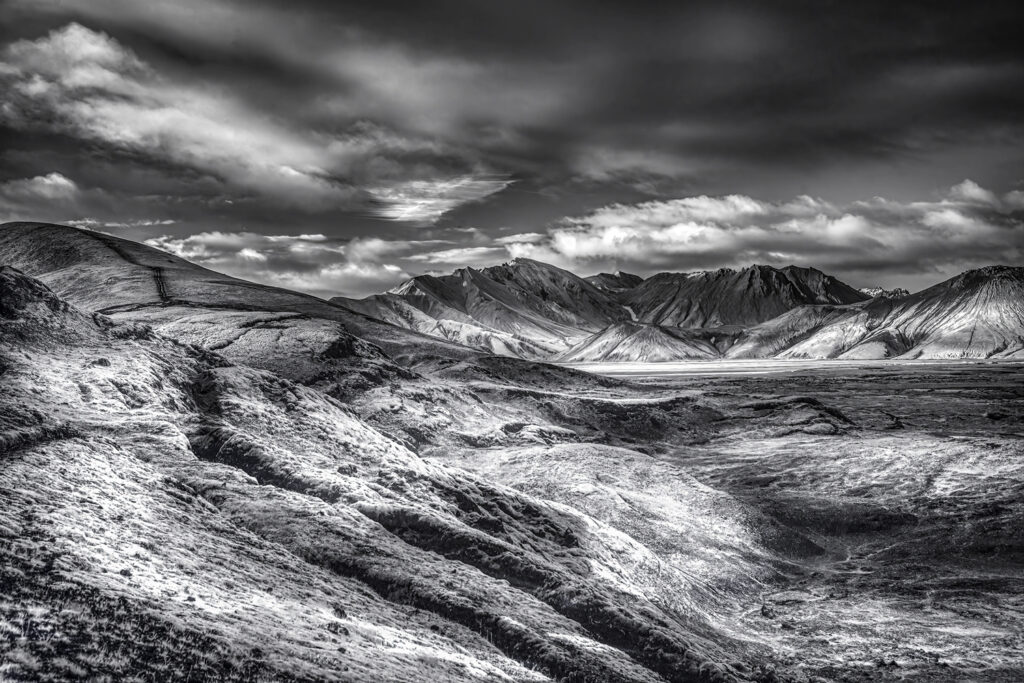
Late afternoon
The patchy light and green lichen are the mood in this image, having a remote and other worldly feel in infrared.
Final Thoughts
One of the greatest things about infrared is that it gives us a second world to photograph.
Infrared affects how I see and interpret the world and what subjects I look for, which are not necessarily the same subjects I would choose to photograph in color.
Infrared sparks my imagination. There is a special excitement with infrared that is different from color.
And finally, even though infrared is gaining in popularity, it is still a “Brave New World” with room for everyone.
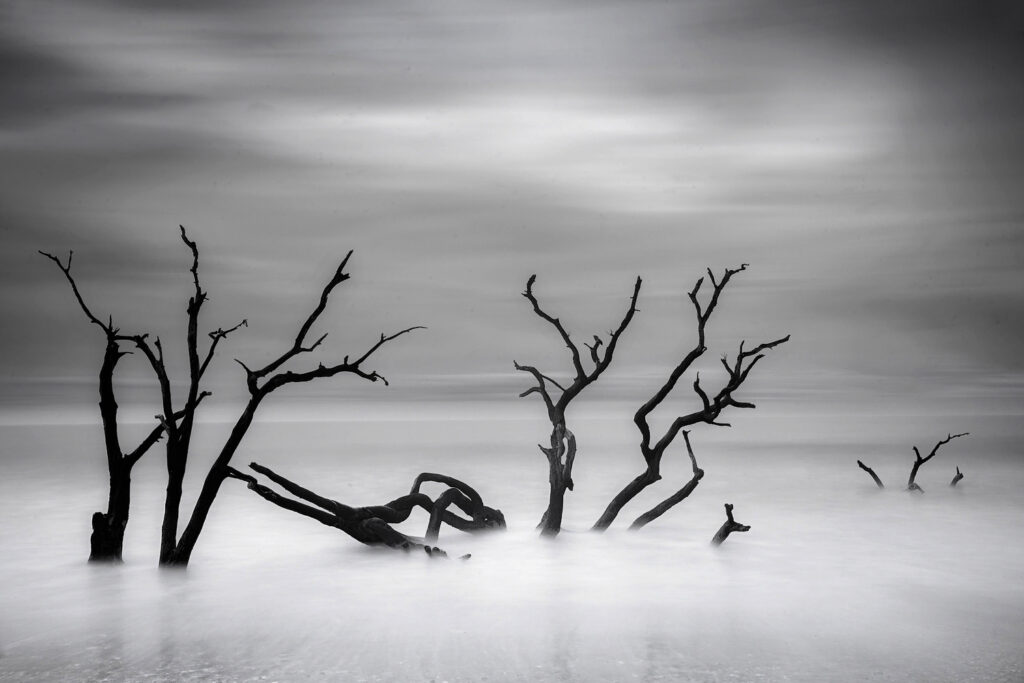
Overcast (these trees are gone)
The fun thing about these types of scenes is that the horizon almost gets lost and we cannot easily find the true horizon. It can appear that everything is floating. There is the natural contrast. I increased the blacks, but didn’t like the sharpness of the trees. I added a low opacity layer of Luminar Neo’s “Mystical filter” to soften the image.


